DIY Halloween Treat Bags and Bucket!

0 Comments
First of all, I would like to apologize for this post is a three-day delay =(. I should have posted it last Friday when I'm done doing it, however, I finished at 3am in the morning already then days have passed and I was so busy attending Halloween parties back and forth with the kids of course.  

Anyway, first, I would still like to show you how I did the Halloween treat bags for the school event of my daughter Yani.  These treat bags are so easy to do and are perfect for treat giving and other festive gift giving activities. The other one was the Frankenstein bucket that I made for Gabo.  I didn't like to buy him a ready made pumpkin bucket that can be bought in department stores because it's expensive for me already hehe.  And DIY is the thing now! Its much more fun to personalized things with me having to say that its waaaaay inexpensive too =).


Part 1:
Supplies needed to make your own Halloween treat bags:
  • white extra small kraft/paper bag size 6.5x3.5x2in (stay away from plastic as much as possible)
  • scissors
  • glue
  • scotch tape (half an inch)
  • cut out monster prints/designs 
  • assorted candies and chocolates
Step 1: Start by cutting your desired monster prints.  I found mine in the fickle pickle blogspot.


Cute monster grins right?


I like to personalized Yani's treat bags so I edited the print.  I added a text below that says "Love, Yani" so that her classmates would know that it came from her. =)


Here are the cut out products:


You can ask someone to help you cut the circle tag and the different grins if you're in a hurry.  My fingers felt a little pain while cutting because they were 100 pieces all in all (50 circle tags and fifty grins) whew!

Step 2:  Put the assorted candies and/or chocolates inside the kraft paper bag.  Put a generous amount but be sure to leave a space (atleast 2 inches from above) so that you can still fold and seal it.

extra small kraft paper bag (around 50-60 pesos)

Assorted candies and chocolates

Step 3: Once all the kraft bags are packed with treats, you’ll have to fold it from above facing you, and seal it with a scotch tape first just to secure it, then paste the circle tags covering the tape.  Finally, paste the grins just below the circle tags.
Tadahhhhh!
Cutie little monsters!!!

Yani's bucket of treats!
I just spent 320 pesos for this 50 pcs. fabulous Halloween treats! Winner!
Part 2:
Supplies needed to make your own Halloween Frankenstein bucket :
  • unused milk can (you can also use unused paint can)
  • corrugated paper (green)
  • 1 piece of black art paper
  • glue
  • scissors
  • hammer and nail
  • black ribbon
the hammer and the nail were not in the picture because it still in the process of finding it ;p

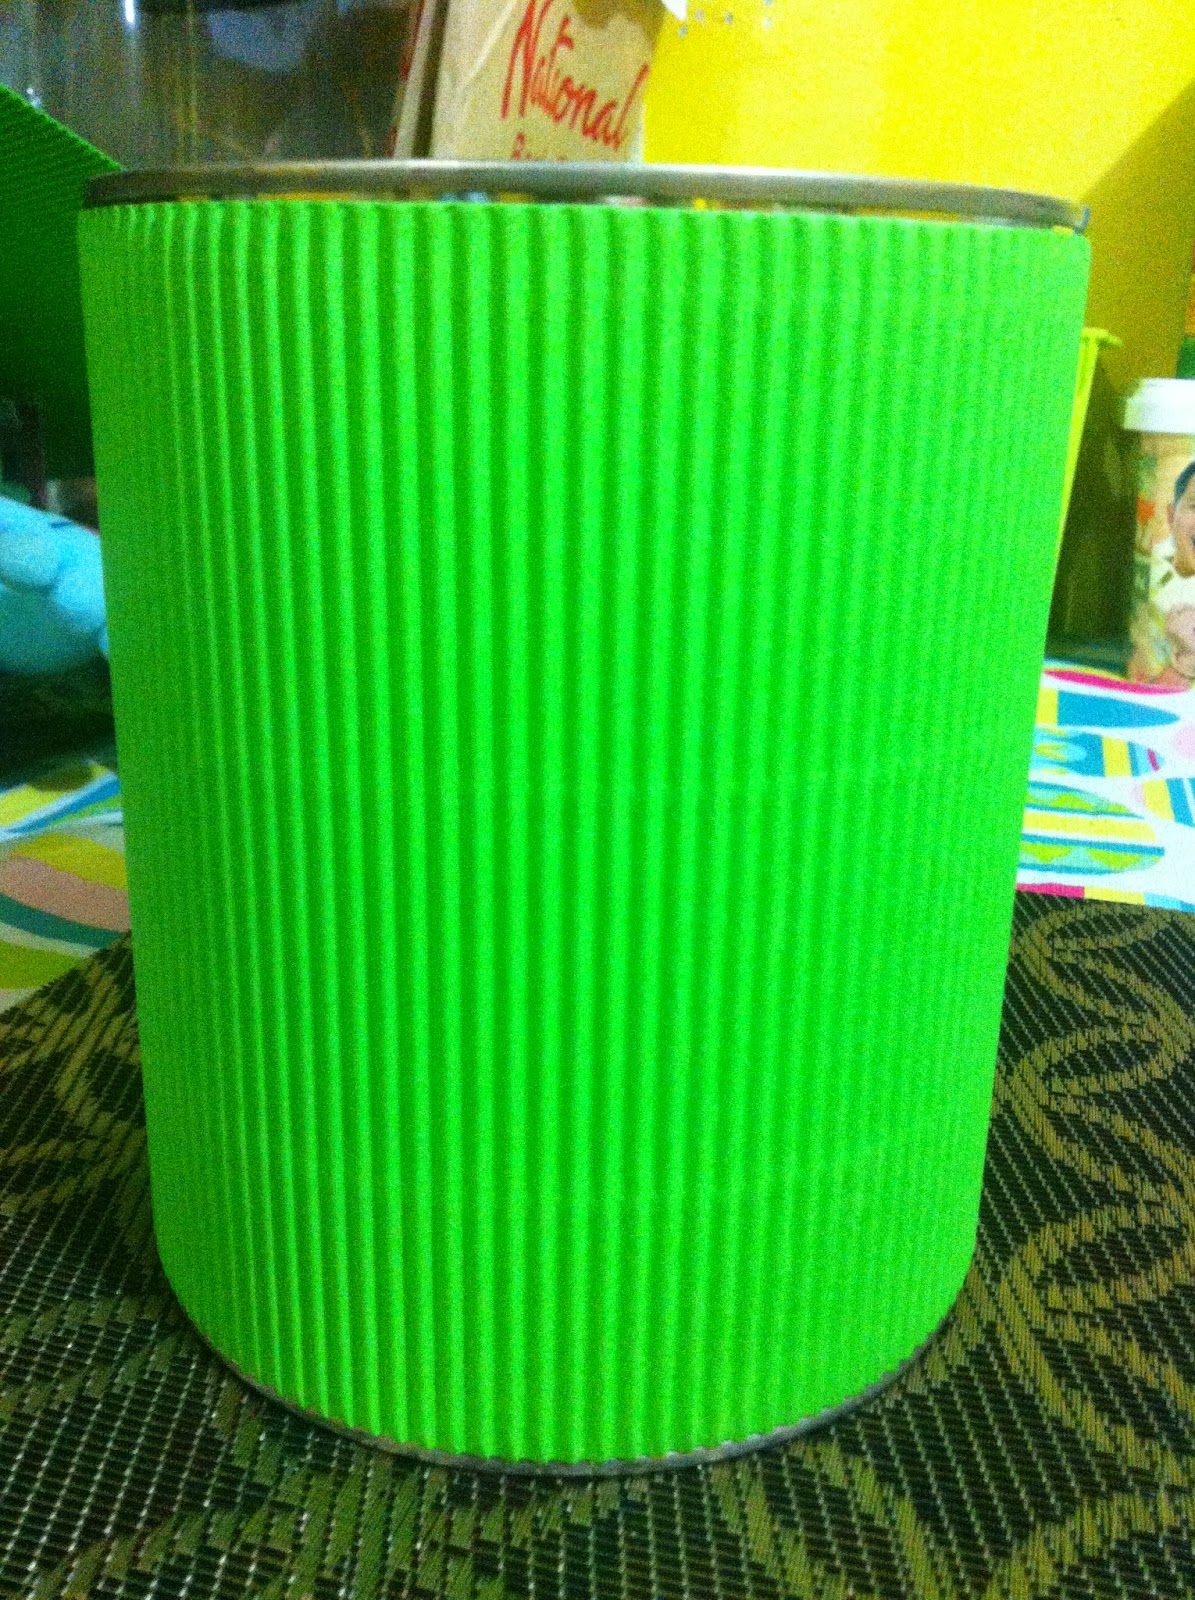
Step 1: Cover the whole body of milk can with the green corrugated paper.  I loooove corrugated papers co'z they give extra craftiness and texture instead of using a plain one.


Step 2:  Draw a zigzag or triangle along the edge of the black art paper and cut it.  Try to make it as irregular as possible.  Paste it around the top of the milk can.  It will serve as the Frankenstein's hair.   It should look like this:


Step 3:  Draw two small circles and two larger circles.  The two smaller circle should be black and the other two should be white.  Paste the two black circles at the top of the two white circles.  Those will serve as the eyes of Franky.


Step 4:  Cut thin strips of black art paper that will serve as Franky's stitches.  Paste it just below his right eye.  Also, draw a wiggly line and cut it to be placed at the bottom that will serve as his mouth.


Step 5:  Finally, using a hammer and nail, put a small hole at the upper left and right side of the can.  The size of the hole must be enough for you to put the ribbon and tie at both ends that will serve as the handle for the Franky bucket.


Meet my cousin ;p
There he is with his big buddy! 


I only spent 55 pesos for this!!! Another winner!


My kids ate a lot of the candies before I even put it inside the bag haha!

Happy Halloween and Happy Crafty folks!


Related Posts

No comments: