Showing posts with label Mommy Hacks. Show all posts
The long weekend has passed, and whew! that's fast! Nevertheless, me and my kids still managed to do a little crafty minute, and this time, we've made a DIY homemade clay dough! I am soooo excited to share this with you. More than it serves as our bonding moment, seeing my kids experiment and exploring the process first hand is irreplaceable.


There are a lot of homemade clay recipes that you can search online, however, the best part of this one is that it is NO COOK, and no need for the Cream of Tartar as an ingredient.  This recipe is very inexpensive you can actually find all the ingredients in your kitchen.  Super easy peasy to make. Perfect for mothers who need cheap craft materials to keep their children busy at home while having all the fun!

Let's do this!

Materials needed:
  • Measuring cups and spoon
  • Bowl/container (I prefer plastic)
  • 1 cup of flour (I used all purpose flour)
  • 1 teaspoon of oil
  • 1/2 cup of salt
  • 1/2 cup of warm water
  • Food coloring
  • Resealable plastic bag/jar with lid (for clay storage)


Steps to make the clay dough:
  • Pour the flour and salt in the plastic container. Mix it very well.
  • While mixing the two ingredients carefully add the water and mix thoroughly.
  • Add 1 teaspoon of oil (I prefer vegetable oil) for more elasticity.
  • Mix and knead all the ingredients well to achieve the desired softness of the clay.
  • Add 3-4 drops of food coloring (your choice of color) to your dough and that's it! You're ready to go!
Tip: The key to a perfect soft, smooth and stretchy clay dough is the kneading part.  Make sure to knead all the ingredients very well during and right after you pour the water to avoid hardening of the ingredients.  

The cute little hands of my kids while mixing all the ingredients. What a mess! haha
The kneading part.  In here, We are close to our desired softness of the clay. =)
Perfect! Look how soft it is!
We've made three different colors.  Make it more vibrant by adding 1-2 drops of food coloring.
To ensure that your clay will last longer, put it inside a resealable plastic/sandwich bag or closed jar and keep it in a fridge.

It's so simple, right?  Of all the crafts that me and my kids have done, this is our all time favorite! We had so much fun!

Happy Monday!


Morning guys and gals!

The happiest and most exciting month of the year is finally on! 

I have been busy lately preparing for Axxel's baptism this coming December 14.  The theme will be Christ's lamb. But before that, I should not have to miss hanging a Christmas wreath at our door.  I love wreaths because looking at them feels more Christmas-sy.  Instead of buying one, you can do many kinds of wreaths according to your theme.  Allow me to share mine.

I chose the theme of Poinsettia Christmas Wreath.


Materials

  • round styrofoam (ideal is 22"-24" but mine is 18" since our door is not that big)
  • felt paper (green and red)
  • small Christmas ball decoration
  • scissors
  • glue 
  • thumbtacks
Step 1:
Cut-out the inner circle of the styrofoam.  The width should be at least 2.5".  Then set aside.


Step 2:
Cut the green felt paper into a leaf size.  Make as many as you can.  I actually did more or less 90 pieces! haha.  That's the effect of watching the extended version of the The Hobbit =)


Step 3:
Cut the red felt paper into a poinsettia sized flower.  Make three (3) different sizes (small, medium and large).  You can download a lot of poinsettia template in the internet.  Mine is like this.


I made my poinsettia template first on a board paper then trace it on the felt paper.  The process of cutting will be faster this way (in my experience).

Step 4:
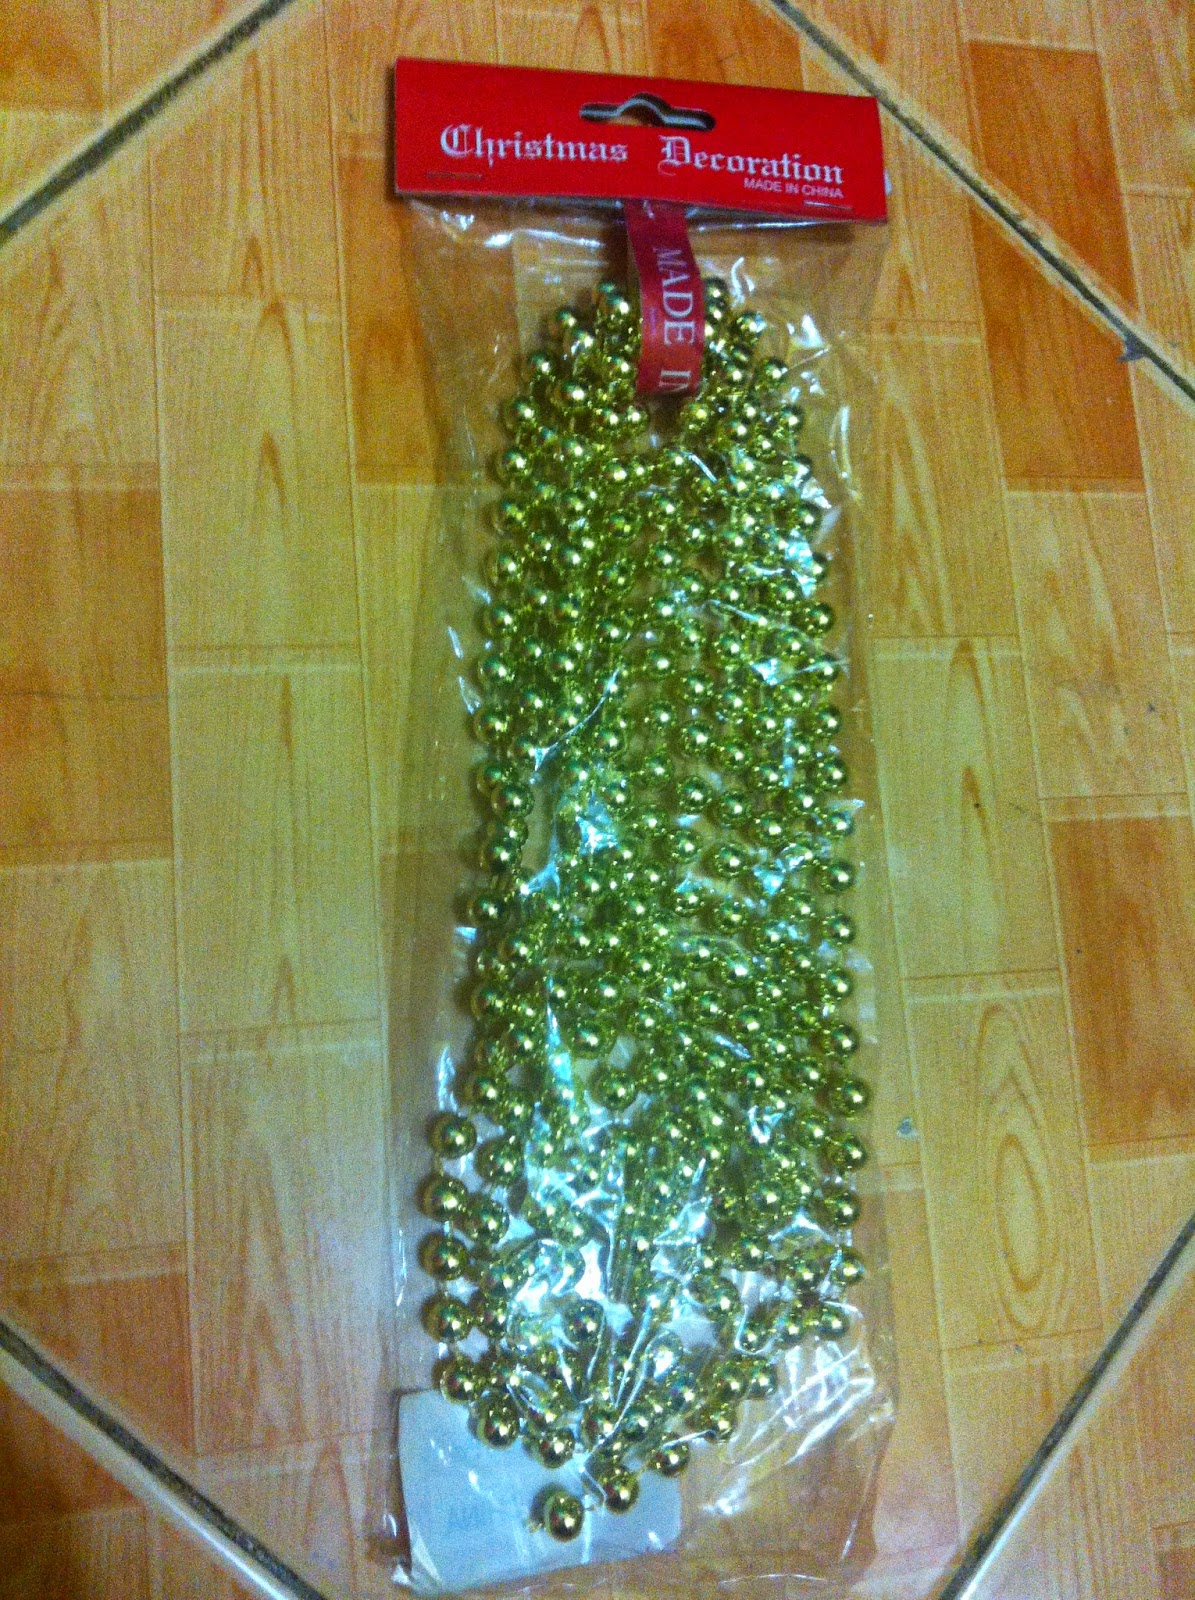
Paste the 3 flowers in an overlapping position.  The pointed shape of the petal should be alternately positioned.  Then, cut 5 Christmas ball decoration and paste it at the center of the flower.  


Step 5:
Continue making 9-10 pieces of the flower then set aside.  Gather all the leaves that you have cut, make a flower size and paste it directly around styrofoam.  Cover the styrofoam as many leaves as you can to cover the white part of it completely.  When it is securely glued, attach the poinsettia flowers on top of the leaves and you're done!!!


Now hang it to your door! =)


Personalized embroidered Christmas socks

Did you see the little cherries popping out around the wreath?  I added those to make it more lively! It's really up to you on how you want to accentuate it.  The sky is the limit!

I also place the Christmas socks of my my children under the wreath.  We have an embroidery business that's why I personalized almost all of my kid's stuffs.  It's waaaay too cute!

All in all, it just costs me 140 pesos! Beat that haha!

How about you? Have you started decorating your house yet?

=)


Hello Mommies!

I came in the office super early this morning, that's why I decided to have a quick post on my first washi tape make-over experience.  Washi tape crafts have been such a craze nowadays.  You can turn any simple notebook, cellphone case, bags, doors, walls, and even furnitures into fab.   It's very economical and easy to use.  You can find it anywhere online for around 60-100 pesos each depending on the size and the fabric.  BUT if you are really looking for cheaper ones, 168 Mall Divisoria is so perfect for you.  They have lots of different kinds of washi tapes for like 40 per box! that's already 4 pieces in a box!


I bought mine at hey kessy.  It was 75 pesos each and I bought 3 pieces.  Our transaction was really smooth and it arrived in just a day (upon my request hihi).  I placed my order late afternoon and it arrived at my office the next day after lunch.  I'm so happy with their service.  I even got a free postcard! how cool was that! 

You can find them here (http://www.heykessy.com).  Here is what I ordered:


Sealed in a very cute chevron paper bag =)

3 pieces of short thin blue washi tape with my postcard!

Now for my project, I decided to give Gabo's study table a new look.  Iv'e been itchy on this for a month but due to crazy schedules at work and at home, it was only then that I gave it a shot.

Here it was before:


Nakakaawa tignan diba? Who would want to study in that kind of table cover?

So let's get started.  First, I decided to peel every inch of it's top cover.  


Next, I covered it with a gift wrapper to give a smooth base.  

Its not obvious that I like chevron noh? hehe

Then I started to stick the washi tape diagonally and alternately. I used two kinds of washi tape. One has a paper/matte finish and the other one was glossy.  


I bought the yellow glossy tape at national bookstore for 30 pesos


I continued sticking the tape until I'm done!  Here's the final look.


I really really love how it turned out.  It's so easy to do and it just took me around 20 minutes to finish it. I believe that I did a great combination of the two washi tapes. Did you see the chevron cover beneath it? I love its shadow effect!  Gabo looked so happy when he saw it because I used his favorite colors which are blue and yellow. =)


Spread the good vibes everyone!
First of all, I would like to apologize for this post is a three-day delay =(. I should have posted it last Friday when I'm done doing it, however, I finished at 3am in the morning already then days have passed and I was so busy attending Halloween parties back and forth with the kids of course.  

Anyway, first, I would still like to show you how I did the Halloween treat bags for the school event of my daughter Yani.  These treat bags are so easy to do and are perfect for treat giving and other festive gift giving activities. The other one was the Frankenstein bucket that I made for Gabo.  I didn't like to buy him a ready made pumpkin bucket that can be bought in department stores because it's expensive for me already hehe.  And DIY is the thing now! Its much more fun to personalized things with me having to say that its waaaaay inexpensive too =).


Part 1:
Supplies needed to make your own Halloween treat bags:
  • white extra small kraft/paper bag size 6.5x3.5x2in (stay away from plastic as much as possible)
  • scissors
  • glue
  • scotch tape (half an inch)
  • cut out monster prints/designs 
  • assorted candies and chocolates
Step 1: Start by cutting your desired monster prints.  I found mine in the fickle pickle blogspot.


Cute monster grins right?


I like to personalized Yani's treat bags so I edited the print.  I added a text below that says "Love, Yani" so that her classmates would know that it came from her. =)


Here are the cut out products:


You can ask someone to help you cut the circle tag and the different grins if you're in a hurry.  My fingers felt a little pain while cutting because they were 100 pieces all in all (50 circle tags and fifty grins) whew!

Step 2:  Put the assorted candies and/or chocolates inside the kraft paper bag.  Put a generous amount but be sure to leave a space (atleast 2 inches from above) so that you can still fold and seal it.

extra small kraft paper bag (around 50-60 pesos)

Assorted candies and chocolates

Step 3: Once all the kraft bags are packed with treats, you’ll have to fold it from above facing you, and seal it with a scotch tape first just to secure it, then paste the circle tags covering the tape.  Finally, paste the grins just below the circle tags.
Tadahhhhh!
Cutie little monsters!!!

Yani's bucket of treats!
I just spent 320 pesos for this 50 pcs. fabulous Halloween treats! Winner!
Part 2:
Supplies needed to make your own Halloween Frankenstein bucket :
  • unused milk can (you can also use unused paint can)
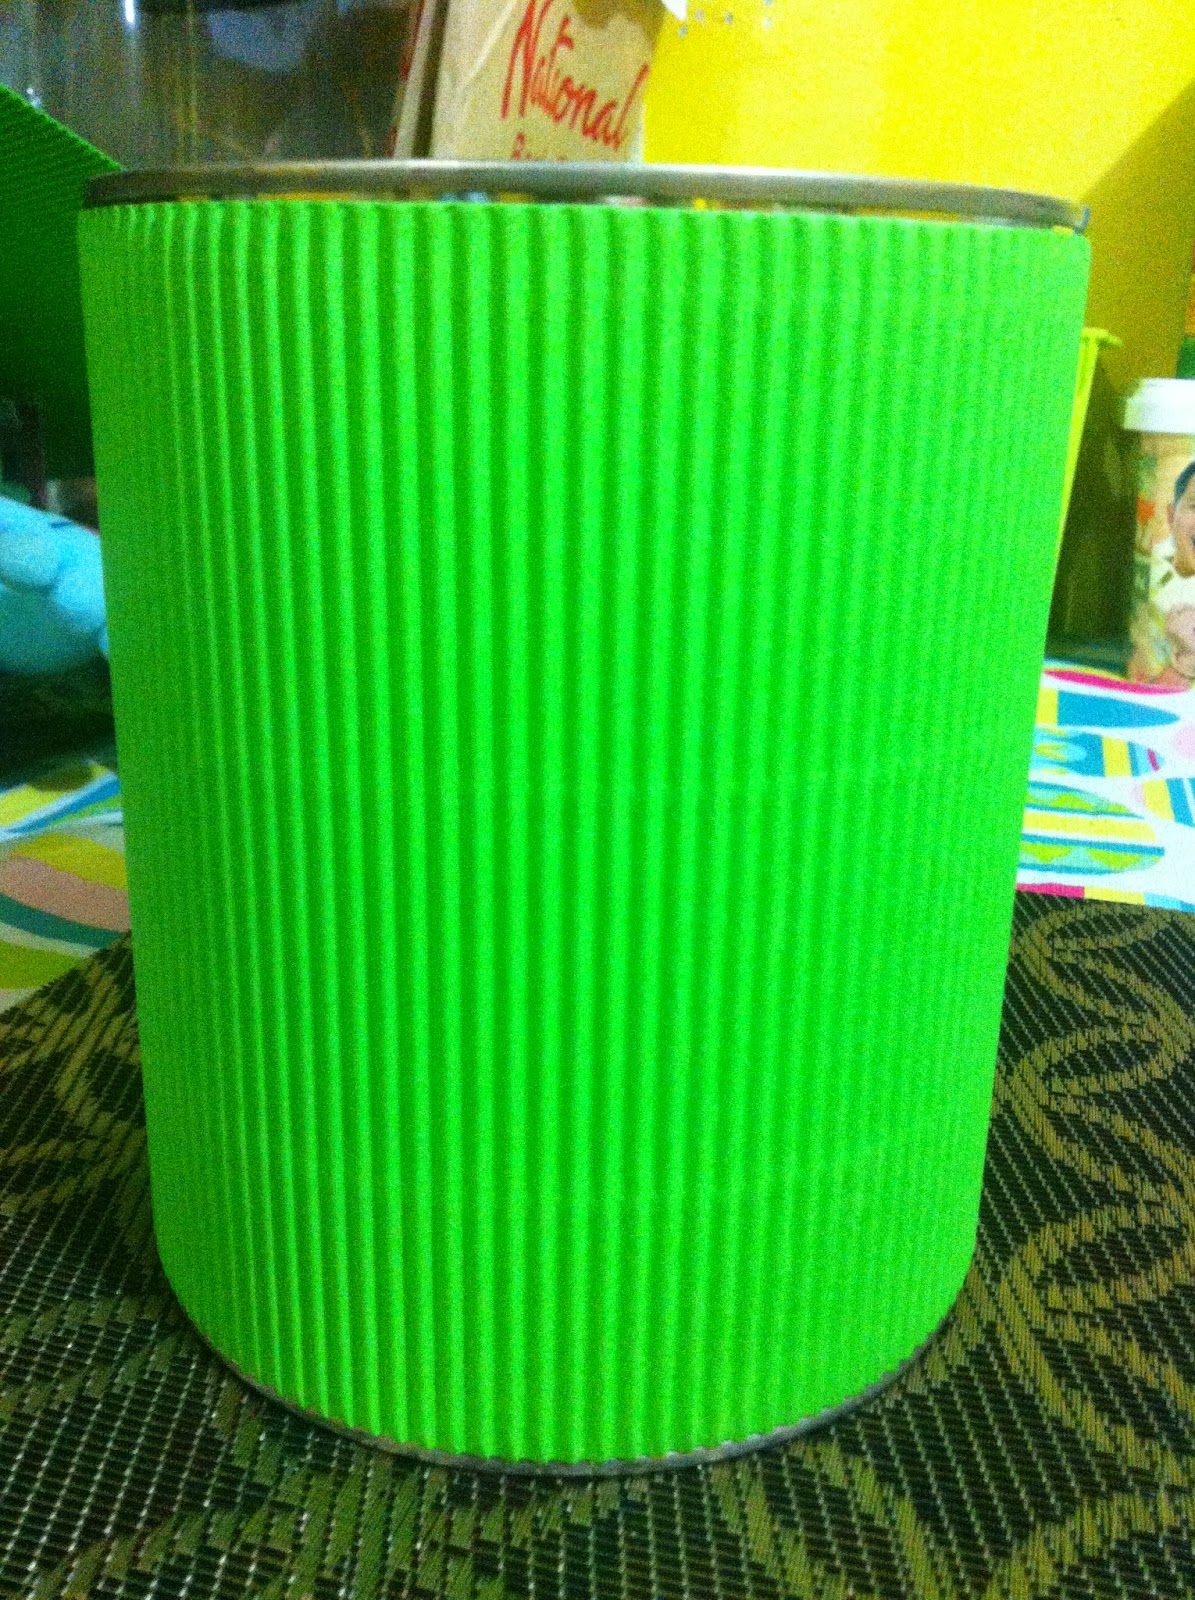
  • corrugated paper (green)
  • 1 piece of black art paper
  • glue
  • scissors
  • hammer and nail
  • black ribbon
the hammer and the nail were not in the picture because it still in the process of finding it ;p

Step 1: Cover the whole body of milk can with the green corrugated paper.  I loooove corrugated papers co'z they give extra craftiness and texture instead of using a plain one.


Step 2:  Draw a zigzag or triangle along the edge of the black art paper and cut it.  Try to make it as irregular as possible.  Paste it around the top of the milk can.  It will serve as the Frankenstein's hair.   It should look like this:


Step 3:  Draw two small circles and two larger circles.  The two smaller circle should be black and the other two should be white.  Paste the two black circles at the top of the two white circles.  Those will serve as the eyes of Franky.


Step 4:  Cut thin strips of black art paper that will serve as Franky's stitches.  Paste it just below his right eye.  Also, draw a wiggly line and cut it to be placed at the bottom that will serve as his mouth.


Step 5:  Finally, using a hammer and nail, put a small hole at the upper left and right side of the can.  The size of the hole must be enough for you to put the ribbon and tie at both ends that will serve as the handle for the Franky bucket.


Meet my cousin ;p
There he is with his big buddy! 


I only spent 55 pesos for this!!! Another winner!


My kids ate a lot of the candies before I even put it inside the bag haha!

Happy Halloween and Happy Crafty folks!